• Wall tiles
• Filler
• Tile adhesive
• Tile spacers
• Grout
• Multi-purpose cloths
• Tile trim
Tools
• Ruler
• Tape measure
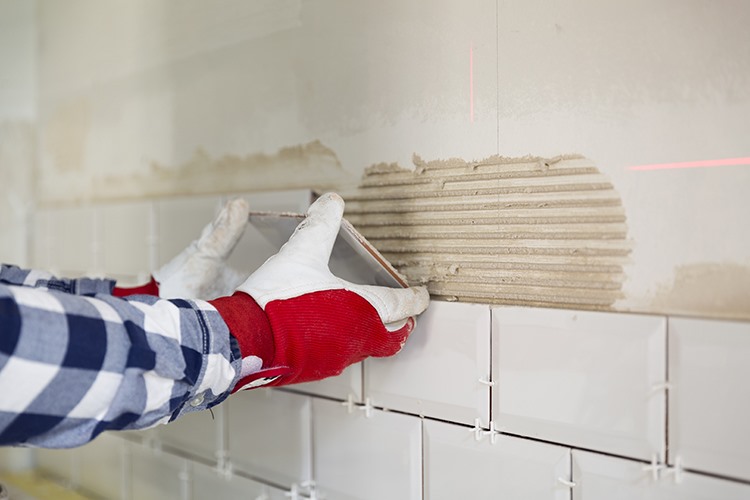
• Trowel
• Tile cutter
• Grout float
• Spirit level
Step 1 – Fill any holes in the wall with filler, smooth and leave to dry.
Step 2 – Starting from the edge of the wall, and at the lowest row, use tile adhesive to start attaching tiles.
Step 3 – Between each tile place a spacer to ensure the gaps between are equal.
Step 4 – As you reach the end you may need to cut a tile. Use an electric tile cutter with plenty of water and make sure you measure carefully and cut slowly.
Step 5 – Move onto the next row up, again using spacers, and slide any tile trim into place at the end. Make sure to follow any decorative design you are using.
Step 6 – If you come to any electrical sockets, measure carefully and cut the tile to shape before applying the tile to the wall.
Step 7 – Leave tiles to dry in situ for 24 hours.
Step 8 – Once dry, apply a liberal coating of grout across the tiles, before then using multi-purpose cloths with warm water to wipe away excess grout from the tiles.
Step 9 – Thoroughly wash down and polish the tiles to remove any dust and remaining grout and leave to dry.